Brass Portholes

So the clear coat on brass will always fail eventually. It’s one of Magic Brock’s least favorite things, because once it goes, it’s really a pain to deal with. Today’s project began once we hung the cute little anchors which hold open the portholes. They’re shiny and pretty and new. In contrast, the porthole was gungy and corroded and green. In other words, not acceptable.

So out came the sandpaper. I figured I couldn’t make it worse than it was, so I might as well be reasonably aggressive. I was really hoping that they were solid brass and not plated! I started with 320 grit, which basically removed the failed clear coat and gave me the start of a warm sheen. Then I followed it with 600 grit to polish, then some Prism Polish for shine and then a coat of our very favorite wax (Carnu-B) for protection.
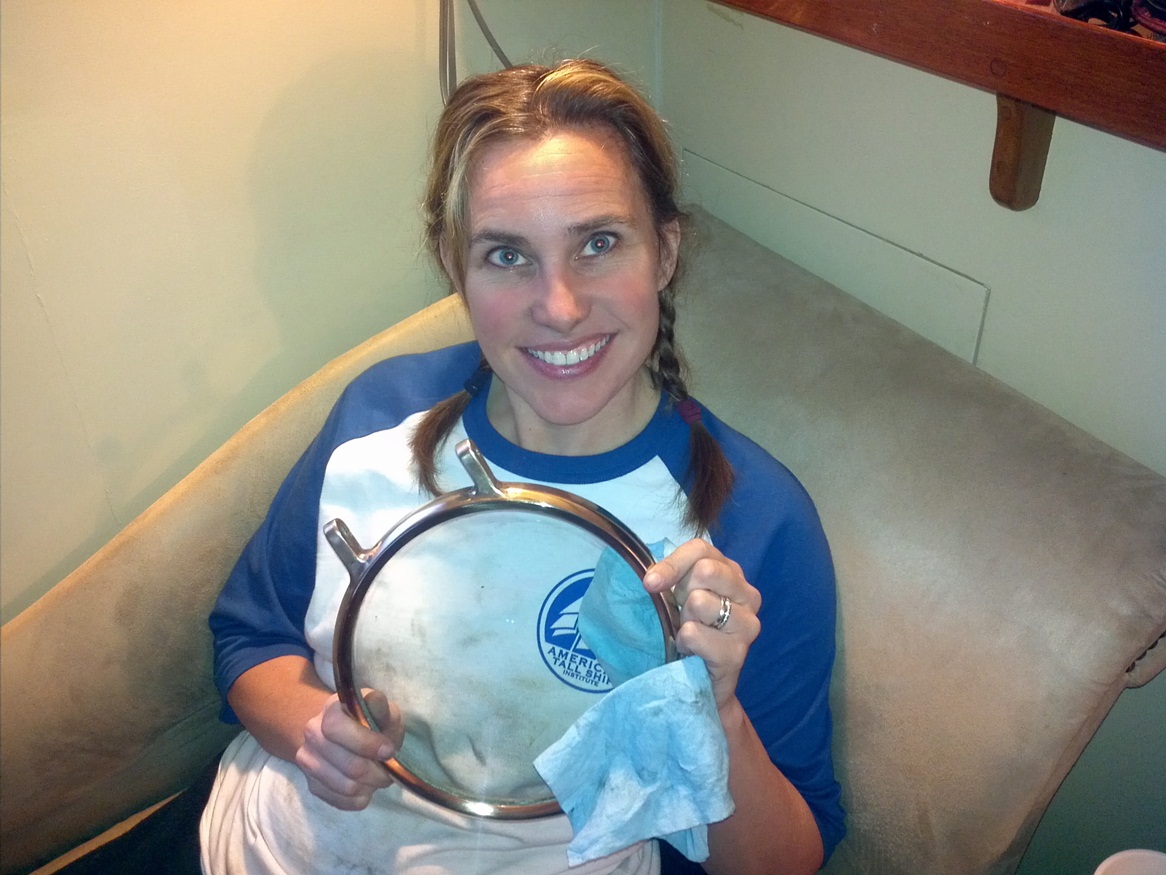
I got lucky – they are solid through and through. This first one cleaned up pretty well. It was a couple of hours of solid labor and my arms are a little tired.
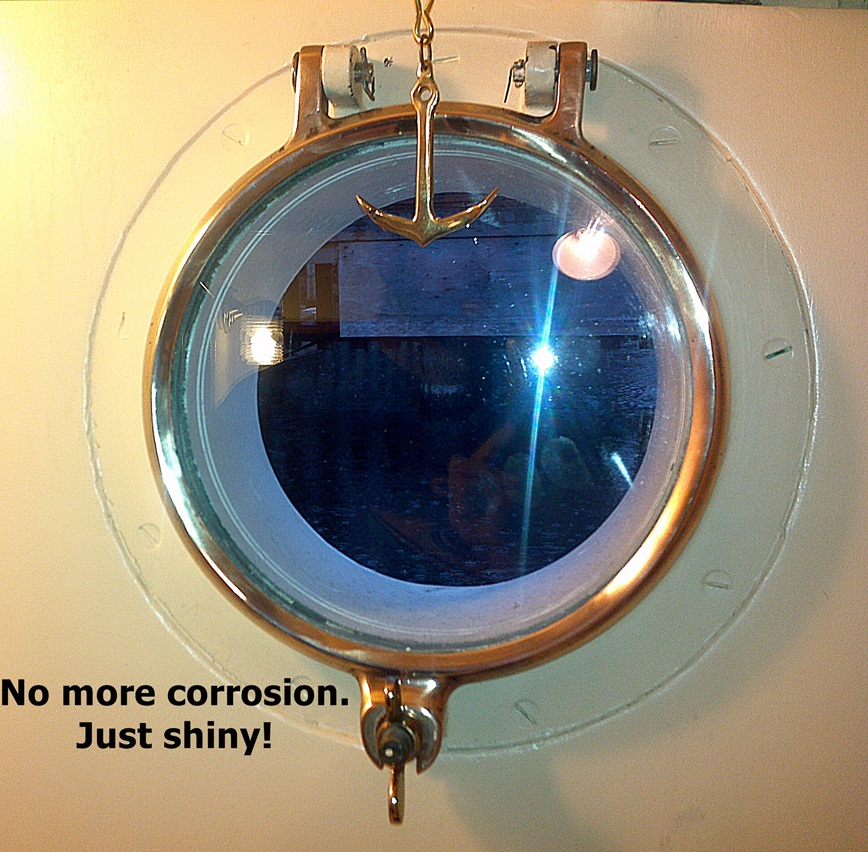
But well worth it for the finished product! No more for today – must pace myself so that I don’t get burned out on it.

Good job, they look great! I love brass portholes, to me they are like jewelry for a ship – so the shinier the better!
Oh yeah… Beautiful boat and shiny brass.
Nice blog… Would love to cruise the PNW someday.
Whoa! that look fabulous, great job (as ever). those little anchor restraints aren`t going to tap away at the glass of the port, or elsewhere around it, (possibly marking it)? Great lob once again!
Wow, those came out great. If you thought yours were badly corroded, I wouldn't dare show you mine. Looks like you have the process down to a science. Don't suppose you were looking to get into the Florida sun and work those arms just a little bit (4 portholes worth) more? :)Thanks for the instructions. I have added to the "to-do" list.Jim
Wow what a difference! Love the little anchors too.